So, you’re going on your first real skiing adventure! Without the lifts, without the queues and no man-made slopes. It’s all you and your friends on an adventure in nature. Well, since I was a first-timer myself a couple years ago, I thought I’d give you some tips based on my experience. It is bound to be fun, but even more so if you’re well prepared. So hopefully these 10 tips for new backcountry skiers can help you a bit with that!
What is backcountry skiing?
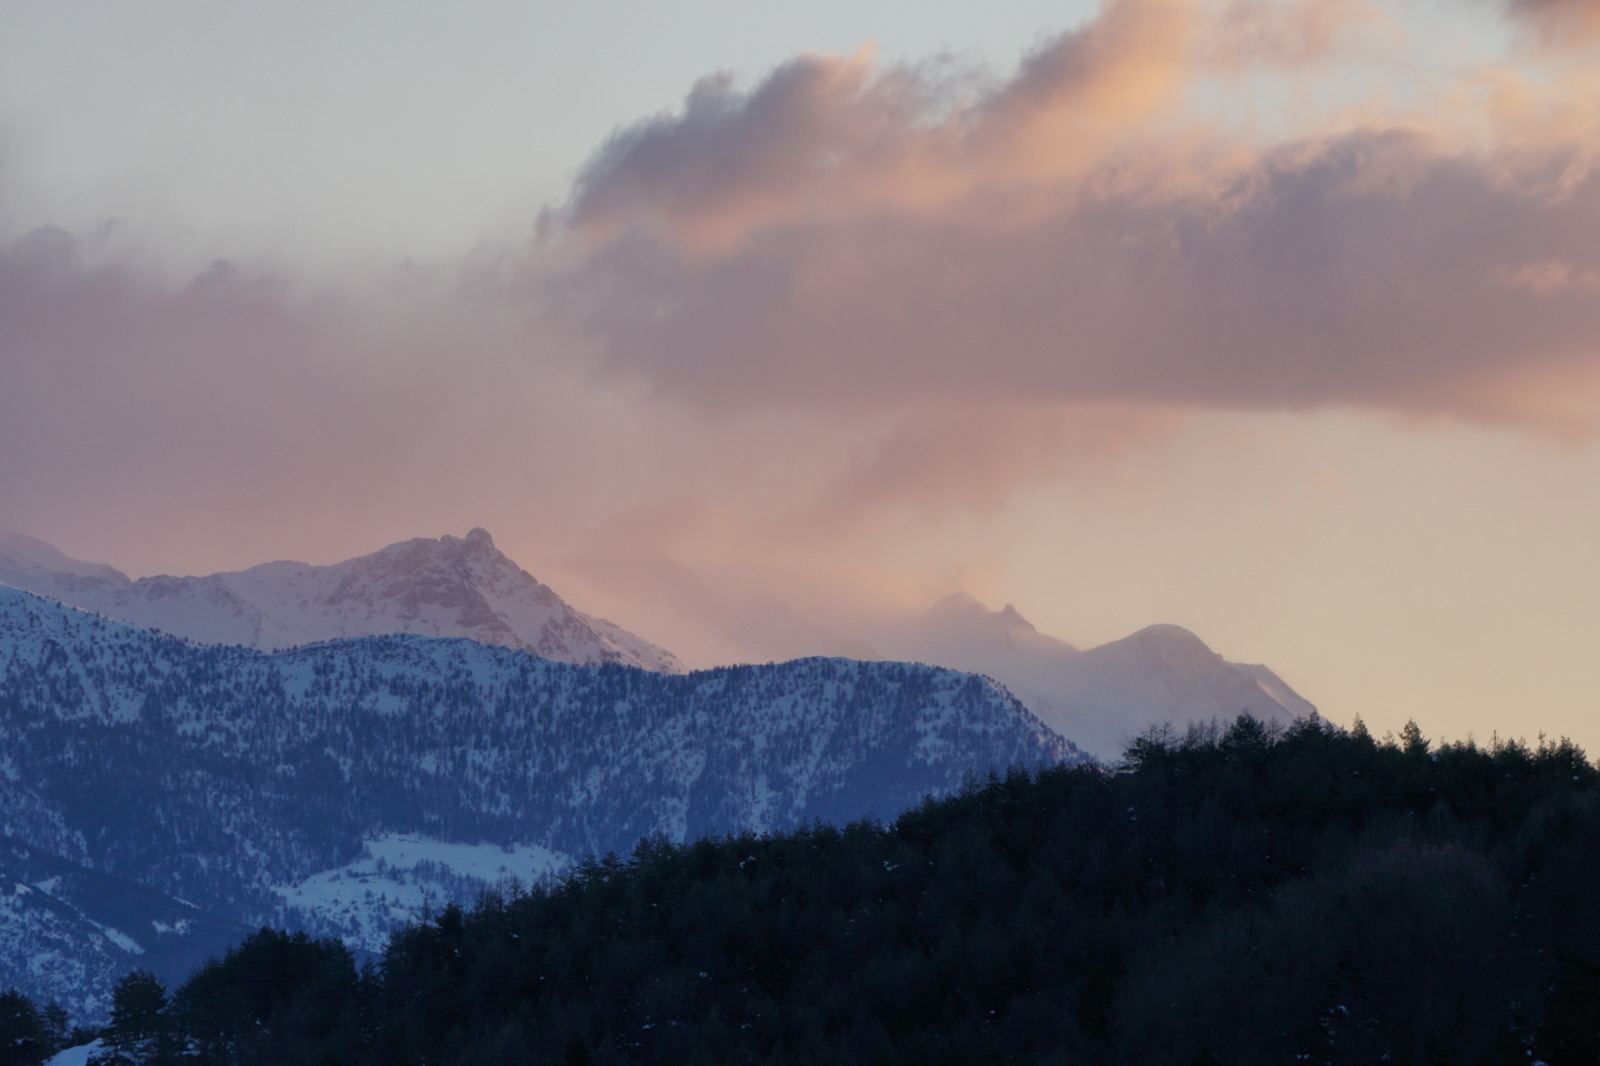
Backcountry skiing, or ski touring, is all about leaving the comfort of human controled mountains. It’s about wilderness and untouched snow, working for a rewarding run down the hill and using your own strength. Backcountry skiing takes place in the back country but can also be done in the vicinity of ski resorts. While most people do single day trips, just like with hiking even multi-day hut-to-hut or camping trips are possible.
It’s a sport often practiced by people seeking more adventure, alpinists and people who want to reduce the costs of lift tickets. It is not without risk and proper skills or a guide are needed for a safe adventure.

Equipment
There are many important differences between normal skiing and touring. For one, there’s a difference in equipment. Often, in backcountry skiing, the snow will be very different from the slopes you’re used to. Therefore you’ll need different skis. When skiing and carving you usually have quite slim skis. This is different for touring. Because of the thick layer of snow you’ll be navigating through, it is important to stay on top as to not loose too much energy. Wider skis will do this for you. Also, the tips of tour skis are more curved, again to get you on top the snow. The biggest difference in skis, however, is that your heels have to be free, meaning that you’ll need different ski bindings that have the ability to lock you in in the front, while your heels are free when going up. Additionally, for walking up, climbing skins are necessary to make sure you don’t slide down.
As I mentioned, you’re walking up, something you don’t normally do in skiing shoes. While it is possible to go touring with normal skiing shoes, this is far from comfortable. As you might have experienced, walking only a short distance in skiing shoes is already a pain in the ass. Touring shoes have a special option for walking, however, giving you more room to move your legs and ankle.

Last, but definitely not least, is safety. While with piste skiing you are relatively safe if you follow the rules, backcountry skiing comes with a lot of risks. It is therefore recommended that unless you have plenty of experience with touring and knowledge of avalanche risks, weather assessment and navigating, you always go with a guide. Really! This does not only save your life, but also that of others if you are the one to cause an avalanche because of poor risk assessment.
To further reduce the risks of accidents, it is important to bring and wear an avalanche beacon. This is an emergency locater that allows you to find people in an avalanche if they wear one, or that allows for you to be found. It is not only important to have this, but also to know how to use it before you go. Therefore, check out some videos on Youtube and ask your guide to practice this with you. The beacon is also part of the total avalanche safety set which also consists of a probe and a shuffle. The probe will help you to find someone burried in an avalanche, while the shuffle will help you to dig them up.
To further reduce your risk of disappearing in an avalanche, you can get an avalanche airbag backpack. If you get caught in an avalanche you can inflate the airbag which gives you some space around your head and possible let’s you stay quite on top of the snow if you’re lucky. Also, these backpacks have a seperate compartment in which you can put your avalanche emergency set so that you can easily reach it in case of an emergency (some other normal skiing backpacks have this feature too). These packs are quite expensive and it’s not mandatory to have one, but remember that they can safe your life if you ever find yourself in an avalanche. Finally, bring a headlight, extra batteries and an emergency kit in case something happens and you’ll be in the mountains in the dark.
Additionally, as with skiing, you’ll need proper clothes, a helmet, goggles, good sunglasses and ski poles.
Tips for a first timer
I recently went on my first trip which gave me quite some insight into what I should have known before I went on this trip. Hopef
1. Backcountry skiing is risky, be prepared
One of the best things of backcountry skiing is that it’s adventurous. And I don’t want to spoil the fun, but I do want to be realistic. Adventure means risks. It is not just a ‘fun sport’ but a ‘risk sport’ and it is important to be aware of this. Don’t just go out and hike up anywhere you think looks nice, and ski down, as this could put yourself and other people in danger. This being said, there are many ways to reduce the risks. In the beginning – go with a guide or a very, very experienced backcountry skier. Make sure you use this opportunity to become familiar with the risks and risk reduction methods, ask your experienced friends for tips and tricks and maybe plan a tour yourself sometime to see if you get the hang of it. Important things to keep in mind are: check the avalanche forecast in the evening and morning and understand it fully, check the weather forecast, look at maps with routes and plan the route according to the avalanche forecast, your and your friends’ skills, weather and your fitness, and bring the right equipment.
2. Wear layers
For me it was difficult to figure out what clothes to bring, and this will be different for everyone. While one person can feel super cold in 5 degrees, someone else might find it comfortable. And while some become warm when walking for 5 minutes (like me), others might need half an hour of fast walking to warm up. This is also a difference with skiing – almost everyone wears a thick jacket and thick pants. While this can be fine for your first backcountry skiing adventure, eventually I would recommend wearing layers. Since hiking up is usually a much more heat-producing activity than skiing down, you’re bound to get warm if you only have one set of clothes.
For this, layers can help you out. So what layers to wear? Well, for example a technical (or thermal) bottom layer, a pully, an isolation layer and a hardshell for warmer weather. And if that’s too cold for you, you can always add extra layers in between. On my first day, for example, we had a lot of sun. When I was walking up I ended wearing only a short sleaved merino shirt and my thin softshell pants with a merino legging underneath. This was enough until the wind became stronger. At that time I just took out my thin softshell to block out the wind a bit and continued walking up. At some point we had to prepare for going down. This means taking off the climbing skins, tightening your shoes, changing gloves, eating and drinking… and especially the first time, this might take some time. This means you’re bound to get cold, so you need your layers. These layers will also protect you against the stronger wind when skiing down.

3. Different gloves, sunglasses and a hat
For me, it was way too warm to wear my skiing gloves and goggles when going up. Most people will wear sunglasses (category 3 or 4), a beanie and simple thin gloves while going up (depending on the weather though). I ended up bringing three sets of gloves while sometimes not even wearing any. I had a pair of super thin ones, just as a base layer, medium thickness softshell gloves and skiing gloves and I used all of them. When the weather is shit it is also nice to have a dry set of gloves in your backpack just to prevent cold fingers. A tip our guide gave us was to have a thicker set of gloves on the inside of your jacket so that you can easily reach them if you’re taking a break to warm up your hands.
4. Bring a drybag
When the weather forecast predicts snow or rain, it is nice if your clothes stay dry before going down. For that purpose a drybag is very useful. Mine was 3 liters and I was able to put my insulating jacket, extra gloves, headlight and food in there. While I didn’t really need it eventually, it was nice not having to worry about my clothes getting wet.
5. Bring plenty of snacks and make sure you can get to them
You’ll definitely want some snacks on your trip. Hiking up takes up most of your energy and a delicious energy bar can give you a quick mental and physical boost. I brought peanutbutter bars and date bars which were delicious and I ate two a day. After my first day I realised putting them in my backpack was quite annoying since I had to stop walking to get to them. So from the second day I simply put them in my backpack and trouser pockets for easy access. This meant I didn’t have to stop anymore and could eat a bar without delaying the rest of the group. Other good snacks are nuts, bananas, hartkeks (high calory cookies) and of course sandwiches.
6. Apply (and bring) plenty of sunscreen
As is also the case with skiing, make sure you apply sunscreen before you leave and bring some for during the day if it gets sunny. And don’t forget to also get lip balm with sun protection! What I forgot on the first day was to apply sunscreen on my hands. While the burn wasn’t too bad since I applied it at midday, you’re hands can burn in a day if you don’t wear gloves!
7. Repair material
Definitely bring some repair material such as duct tape and tie wraps. At the end of the week, my climbing skins kind of broke, which meant I had to tape them to my skis. Luckily someone else brought duct tape and tie wraps to fix it. And a knife came in useful to remove the tape.
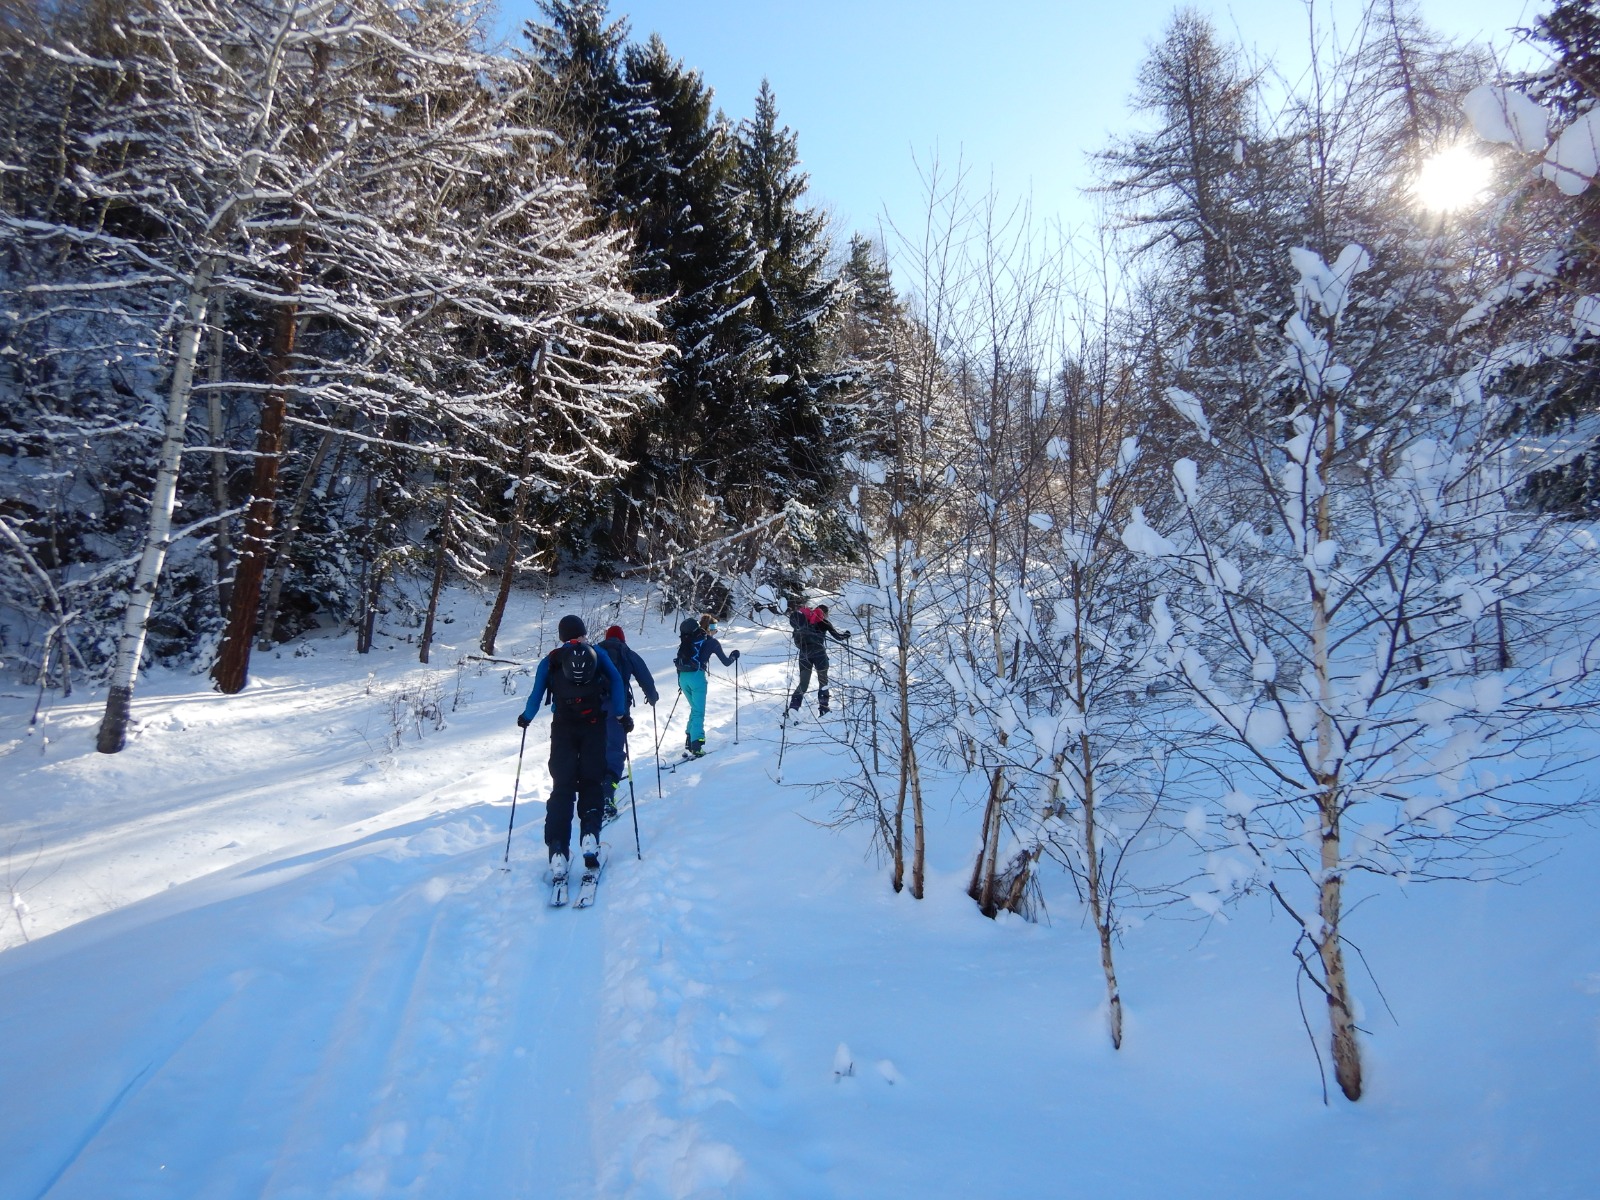
8. Don’t walk too fast!
Maybe you’re excited to get to the top of the mountain as fast as possible, or you’re really excited to ski down asap. This will probably mean you’re off to a quick and fast start. While this might feel good for the first meters, eventually you’re slower compared to an easy, comfortable pace. When you start off to fast you usually end up needing more breaks which will slow you down and get you out of your rythm. When we went with our guide he had quite an easy pace and I ended up having much more energy to keep going than the days before. It also meant we didn’t have to stop as much, so we also didn’t get cold during breaks!
9. Get a good app for navigation as well as a physical map
There are plenty of apps with backcountry skiing maps such as the Ortovox app, Mapy.cz and Fatmap. While these apps are very handy, there’s always the possibility of your phone dying due to, for example, bad weather. In that case it’s always useful to have a physical map of the area, preferably a winter map. This will help you navigate back safely.
10. Communication
Communication is crucial for a fun and safe trip. Discussing who will be the leader of the group (probably the most experienced one), who makes the decisions that everyone will follow, and deciding on a return time can be very important. It will reduce discussion time and will ensure that you’ll all get back happily and safely.
Extra: Rent your gear
There’s one more thing I’d like to recommend if it’s your first time backcountry skiing: RENT. YOUR. GEAR. While I thought of buying ski’s and shoes, I eventually decided not to because of the high expenses. Also, since I didn’t know whether I would really like the sport, it seemed better to try it out first. Renting is nice since you can try out what gear suits you before investing a lot of money in a set you might not use or like.
So, do you feel more prepared for your first backcountry skiing adventure with these 10 tips? While it’s important to know the risks, don’t forget it’s absolutely great fun! I had a blast and can’t wait to do it again. Let me know in the comments if these 10 pro tips for new backcountry skiers helped you out and if you have anything to add!